Key Takeaways
- Hydrated skin helps concealer blend better and last longer.
- Shade matching matters more than most people realize.
- Tools like sponges or brushes can upgrade or ruin your coverage.
- Layers work better than one thick smear of product.
- Setting with powder ensures your concealer stays put.
- Color-correcting before concealer makes a huge difference.
- Proper application can camouflage acne, scars, and dark circles quickly.
Sometimes you try a new concealer, and it glides on smoothly, but an hour later, it looks all cakey. You might blame the product, or maybe you doubt your technique. It can feel so annoyin’ when a concealer that claims to “cover everything” ends up accentuating fine lines or dryness instead. Let’s fix that.
In the past, I once dabbed concealer on every spot without prepping my skin. My face ended up looking splotchy, plus that unblended color difference around each blemish looked super weird. Ever had that? You probably have. So let’s solve all these weird concealer mishaps together.
Here’s a complete, no-fluff guide to applying concealer like a pro. This piece will share the best prep steps, shade tips, product picks, and tried-and-true methods for banishing blemishes.
You’ll learn how to tackle dryness, redness, under-eye circles, scars, or dark spots with ease. If you’ve got five minutes in the morning, you’ll find at least one technique here that will help you look fresh, especially on those days you feel half-asleep.
We’ll also explore how to highlight with concealer and ways to fix common mistakes. Stick around for a summary table and a bunch of FAQs. I’ll keep things simple, so it’s easy to follow and replicate. Let’s get started.
The Perfect Prep
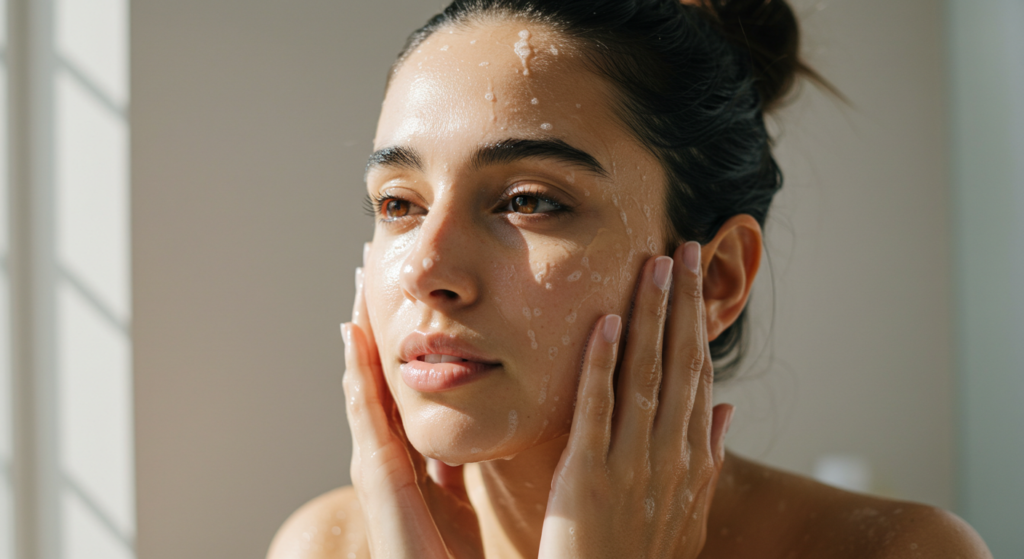
Cleansing
Why does a simple wash matter for flawless concealer coverage? Dirty skin can lead your concealer to break apart or turn patchy. Oil, sweat, and dust particles on your face will slip underneath your product and cause it to crack.
Wash your face with a gentle cleanser that leaves your skin feeling fresh but not tight. Too much dryness sets you up for uneven texture, and your concealer might cling to flakes. You can do a quick rinse with lukewarm water (not hot). Sometimes I see people scrubbing with boiling water—ouch! That can stress your skin.
If you have dryness around blemishes, a mild cleanser or micellar water can help remove dead cells. This small step ensures you have a clean canvas for your concealer.
Toning
Toning might feel like an extra step, but it helps minimize pore visibility and maintain a healthy pH balance. It also sweeps away any leftover residue from your cleanser. A well-toned face can help concealer grip better, especially around your nose or chin.
Pick an alcohol-free toner if your skin is already parched. Sweep it across your face with a cotton pad or gently tap it on with your palms. Avoid harsh toners that burn or sting. If your face feels irritated, your concealer might not blend as smoothly.
Wondering if you can skip toner? Try it once with and once without. If you notice you get a better, smoother finish, keep it. If not, you can proceed without it.
Moisturizing
A well-hydrated face makes your concealer look like second skin. Why? Because dehydration often shows up as fine lines, and product can settle into them. A moisturizer helps plump up skin cells so the concealer can glide without sticking to dry patches.
Pick a moisturizer that suits your skin type—oil-free for breakouts, richer for dryness, or a gentle blend if you’re somewhere in between. Apply it evenly, wait a few minutes, and let it sink in before adding primer or any makeup. If you notice dryness or tightness, add a tiny bit more moisturizer. That small tweak can stop cakiness later.
Choosing the Right Type of Concealer
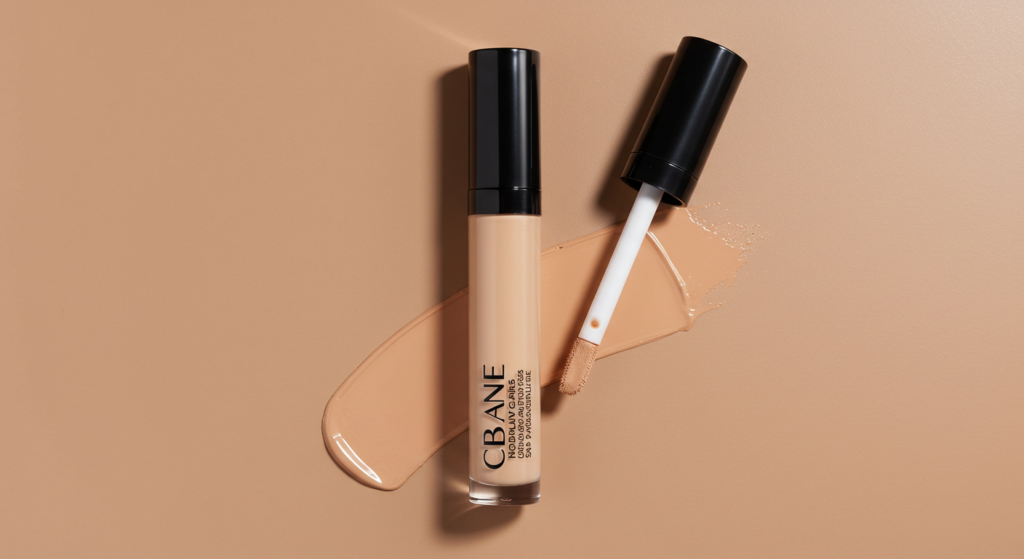
Liquid Concealer
Liquid formulas are a top pick because they’re versatile and work on various skin types. They come in different finishes, from matte to dewy. Use a lightweight liquid if you have fine lines or dryness because it won’t emphasize those areas so much.
Ever feel like your concealer is sliding off by midday? If you have oilier skin, consider a matte liquid formula that sets quickly. If your skin is drier, you might enjoy a creamy or satin finish. Test different liquids on your jawline so you can see how they set on your face.
Liquid concealers blend easily with many tools—brushes, sponges, or even your fingertips. Experiment with a small dot first, then build up if you need more coverage.
Cream Concealer
Cream concealers usually arrive in small pots or compacts and pack more coverage. They can work wonders if you have stubborn blemishes or discoloration. With a cream formula, you can get a more opaque application if you carefully layer.
But watch out—cream concealers can crease if you don’t prepare your skin well. They also might accentuate lines if you pile on too much. Take a light approach and build up in thin layers. Use a small, dense brush or a mini beauty sponge to buff cream concealer onto spots or under your eyes.
Do you have trouble with dryness? Mix a bit of moisturizer into your cream concealer on the back of your hand, then apply it. That trick can keep it from caking.
Stick Concealer
Stick concealers come in a lipstick-like tube and are super portable. They’re known for full coverage and convenience: you twist, swipe, blend, and go. Many people love them for touch-ups during the day because they fit easily in a bag.
However, stick concealers can be stiff or waxy, especially if you keep them in a cold place. Warm them slightly on the back of your hand if they feel too firm. This helps you spread them more smoothly.
You can draw directly onto a spot and use your finger to tap it in. If you prefer, pick a brush or sponge for more precise blending. Sticks often work great for smaller blemishes but might feel heavy under the eyes.
Finding the Ideal Shade
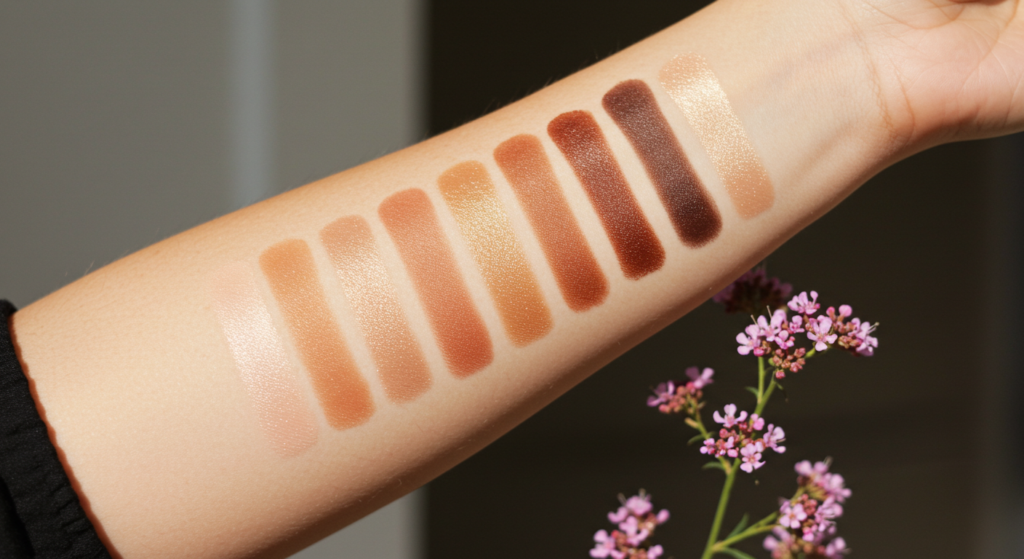
Undertones
A shade that matches your skin’s undertone can give you a more natural look, especially for spot concealing. If your skin leans warm, pick a concealer with golden or peachy undertones. If you’re cool, go for something with pink or neutral hints. Neutral undertones can usually adapt to either side but test it in natural light to be sure.
Test your concealer on the side of your face, not your wrist. Why? Because the skin tone on your wrist can differ from your face. Step outside in the sunlight or near a bright window to confirm that the color blends in well without standing out.
Seasonal Changes
Our skin color can shift between summer and winter, so the concealer we use in December might not match in July. A summer tan or deeper complexion can require a second shade. Keep two concealers around if you notice your undertone or skin color changes through the year.
Mix them when you’re transitioning seasons. Start with a dab of your winter shade, then add a drop of the deeper shade. Custom-blend until you get a perfect match. This keeps you from wasting concealer or sporting a mismatched face.
Mixing & Matching
Sometimes, a single concealer shade doesn’t fix all concerns. You might use a slightly lighter shade for under-eye brightness and one that matches your skin exactly for covering blemishes. That way, you don’t end up with ghostly under-eyes or dark spots that peek through.
If you see dark circles that look more purple, try a peachy or salmon concealer. For redness, grab a green-tinted corrector. Layer a normal concealer shade over it. That combination helps neutralize the discoloration.
Application Tools
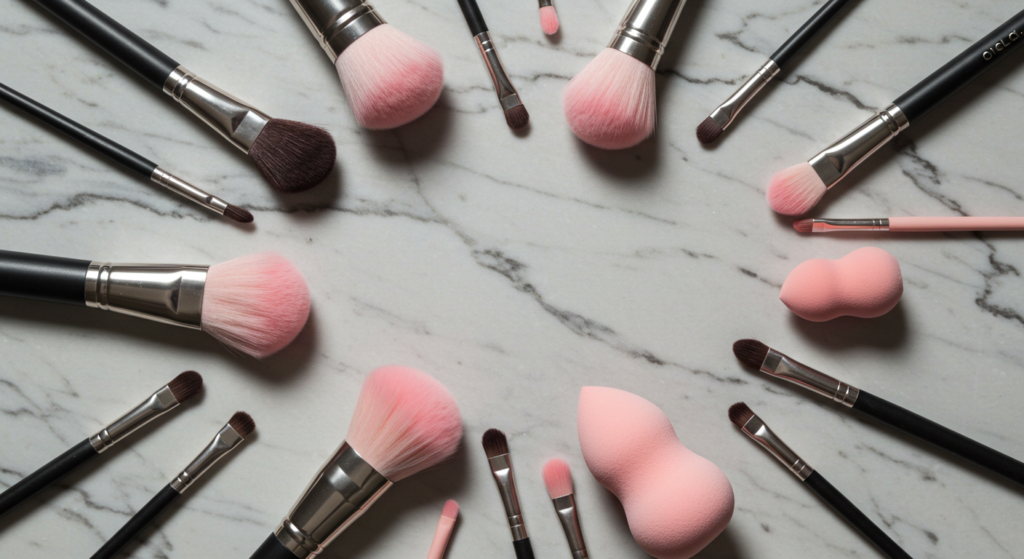
Brushes
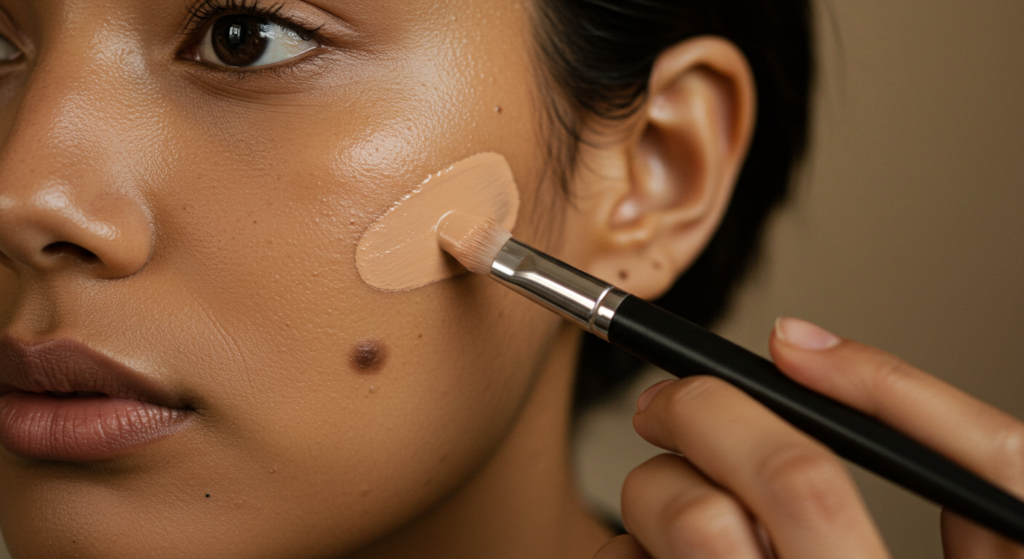
A small, tapered brush lets you apply concealer precisely on blemishes or under your eyes. It can help you reach crevices around your nose or corners of your eyes. Synthetic bristles tend to be easier to clean and hold cream or liquid products nicely.
Dab the brush into your concealer. Tap lightly on any spot or under the eye area. Blend by lightly feathering the edges so it fades into your skin or foundation. Avoid heavy swiping motions because that can remove more product than you want.
Clean your brush often so bacteria doesn’t build up. If you keep using a dirty brush, you risk breakouts or applying your concealer in a streaky pattern.
Sponges
Many people love sponges, particularly the teardrop-shaped ones. A sponge can help you diffuse concealer for an airbrushed finish. Moisten your sponge first by running it under water, then gently squeezing out the excess. A slightly damp sponge spreads product with minimal streaks.
Tap or bounce the sponge over the concealer. Press, lift, press, lift. This motion ensures you don’t drag the formula around. You can use the pointed tip to get into small areas and the rounded side for blending larger zones.
If you want more coverage, dab lightly. If you prefer sheer coverage, you can pat with a bit more pressure. Keep your sponge as clean as possible because a dirty sponge can breed bacteria.
Fingertips
Sometimes, the simplest tool is your finger. The warmth from your skin can help the concealer melt in. Use the ring finger if you’re applying under your eyes, because it usually applies less pressure.
Tap the concealer on in small, quick moves. Avoid rubbing because that can shift the product. Fingertips work best for cream or liquid formulas that aren’t too thick. For certain stick concealers, you might want to warm it up on your fingertip first, then apply to your face.
Why do people skip their fingers sometimes? Hygiene. If you’re on the go and your hands aren’t squeaky clean, you can transfer dirt or bacteria onto your face. So, keep some hand sanitizer or wipes around if you love fingertip blending.
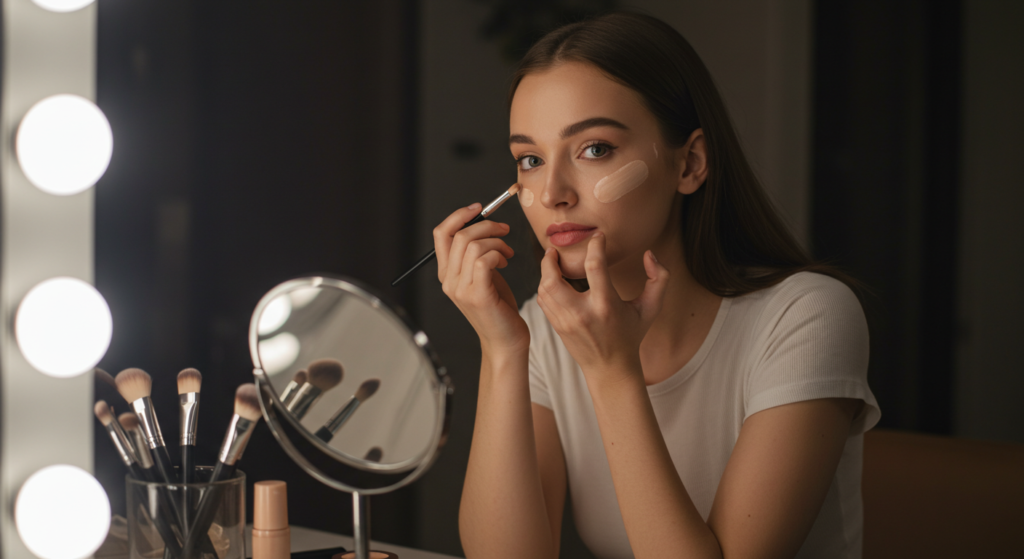
Spot Concealing Basics
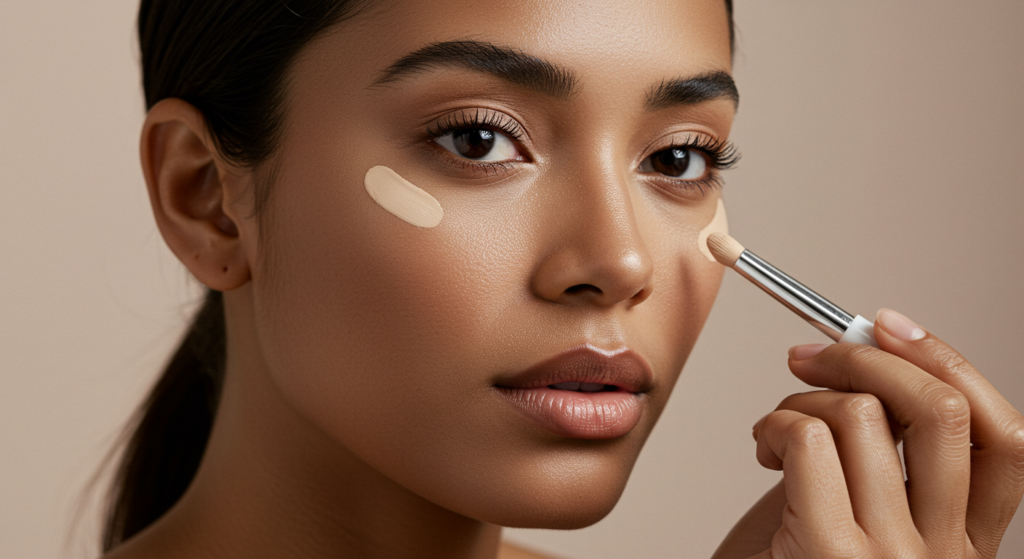
Tapping
Have you noticed that if you swirl your brush, you might spread the concealer too far? Tapping prevents that. You can tap with your finger or a small brush, focusing on the area that needs coverage. This method helps you build up coverage exactly where you want it.
Apply a tiny bit of product on the blemish, let it sit for a few seconds to thicken, then tap lightly around the edges. This technique ensures that the center of the blemish gets the highest coverage while the perimeter blends naturally.
Tapping works well for pimples, small scars, or rough patches. It keeps your concealer from traveling all over your face.
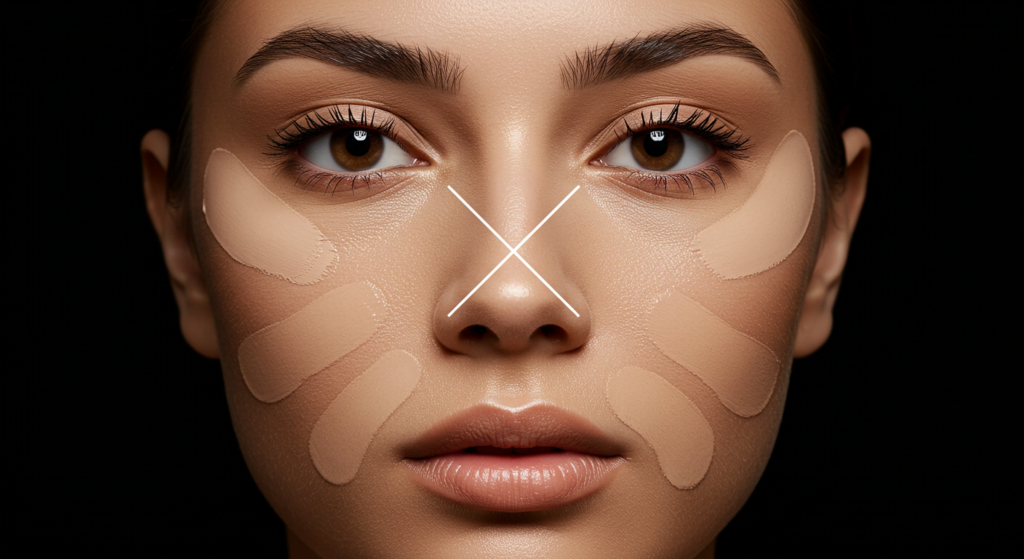
Dotting
Dotting is great for a larger area with multiple spots—like if you have mild acne on your cheeks or chin. You can place small dots of concealer around each blemish, then blend them individually or together if they’re close.
This method helps you keep track of each spot and ensures even coverage. Sometimes, if you just do a big smear, you might miss certain areas or run out of concealer in spots where you need it the most.
Dotting also lets you control coverage levels. If you want heavier coverage on one spot, place an extra dot there. If you need less, just use one small dot.
Blending
Blending is the difference between a concealed blemish and a patch that screams “I’m covered in makeup.” To blend properly, use a gentle tapping or feathering motion with either a brush, sponge, or your finger.
Start from the center of the blemish, then move outward, softening the edges so there’s no harsh line. If you see a ring of color around the pimple, pick a clean part of your tool or finger to diffuse it.
Wait a few moments to see if the concealer oxidizes or changes color. If it does, you may need to add a bit more or pick a lighter shade from the start. Setting with powder at the end helps lock everything in place.
Under-Eye Secrets
Color Correctors
The under-eye area often looks purplish or bluish, especially when we’re tired. Regular concealer can help, but color correctors can eliminate that shadow even better. A peach or salmon-toned corrector cancels out the purple. It’s like mixing paint to get a neutral color.
Apply a minimal amount of corrector first. Then follow it with your regular concealer shade. If you skip the corrector, you might pile on more concealer than needed, which can create creases. Sometimes a corrector plus a thin layer of concealer does the trick better than a lot of concealer alone.
Don’t go overboard with color correctors. You want just enough to counteract the darkness, not so much that you see a bright orange or pink ring under your eyes.
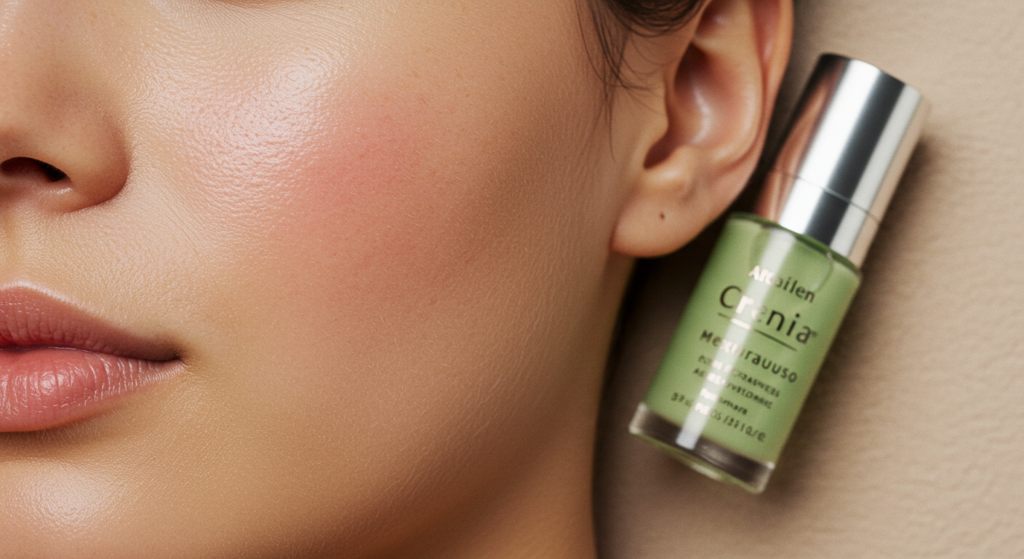
Hydrating Ingredients
Under-eye skin can be sensitive and prone to dryness. A concealer with hydrating ingredients—like hyaluronic acid or a gentle botanical infusion—can prevent that cracked, flaky look. If your under-eye region is super dry, consider an eye cream before you apply.
If you find that your concealer still settles into lines, try waiting a minute after eye cream, then lightly pat away excess product with a tissue. This step preps your skin without leaving a slippery surface.
Should you skip hydration if your skin is oily? Probably not. The under-eye area still needs moisture. Just look for a lightweight gel-based formula or a concealer with a moisture balance that suits you.
Baking Lightly
Baking is a technique where you let a translucent powder sit on top of your concealer for a few minutes before dusting it off. It can lock product in place, preventing it from creasing. But the heavy-duty versions of baking can look too dry.
Try a mini version: apply your concealer, lightly press in some translucent powder with a small damp sponge, wait 30 seconds, then gently sweep away any excess. This approach keeps your under-eye area from looking caked.
If you see dryness, reduce the baking time or skip it. Everyone’s under-eye skin is different. Some folks love baking, others find it too intense. Experiment to see if it works for you.
Concealing Acne and Scars
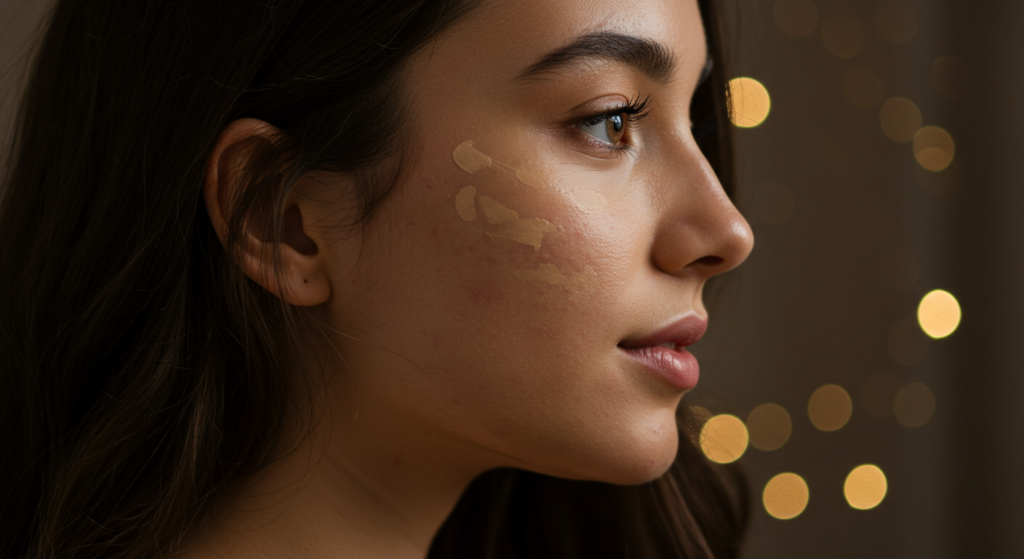
Buildable Layers
Big pimples or deeper acne scars might require multiple thin layers rather than one thick glob of concealer. Start with a thin coat, let it settle, then lightly dab on another layer. This way, you avoid a heavy pancake look.
If you try to hide a big pimple with a ton of concealer at once, it can crack or flake off. By layering carefully, you allow each coat to adhere. A tiny bit of powder between layers can help keep the coverage intact.
Take your time with layering. Rushing through might cause you to overblend or wipe away previous layers.
Green-Based Correctors
Green-based correctors help neutralize redness from angry blemishes or irritated scars. Use them sparingly, focusing on the reddest parts. If you apply too much green, you might see a pastel hue peeking through your concealer.
Dab the green corrector on first. Then gently blend with a small brush or your ring finger. Follow that with your normal concealer shade on top. The combination can reduce the bright red color, making it less noticeable.
If you still see redness after your first attempt, add another tiny dot of concealer. Try not to keep layering too heavily or it may draw more attention to the area.
Patting Motion
When dealing with acne or scars, a patting motion helps keep the coverage in place. Dragging or wiping can remove layers. Pat gently, almost like you’re pressing the product onto the blemish.
If you have raised pimples, you can press lightly around them to blend the edges. If you have indented scars, you might want to use a slightly thicker formula and build it up. Then set everything with a thin veil of powder.
Avoid picking at scabs or fresh acne. Concealing an open wound can lead to infection or scarring. Let it heal, and if needed, use a bandage or skip makeup in that area until it’s safe to cover.
Concealing Redness or Rosacea
Proper Primers
Redness-prone skin can benefit from a green-tinted primer before concealer. This helps even out the entire face. It also means you might use less concealer overall because the primer already tones down some redness.
Look for a calming primer with soothing ingredients if your skin flares easily. Smooth it on gently, wait a few minutes, then proceed with your usual concealer routine. This can keep the concealer from breaking apart on irritated spots.
Primers can also help fill in pores or fine lines, giving you a smoother surface. If your cheeks or nose are easily inflamed, treat them with extra care. Pat your primer on rather than rubbing.
Minimizing Flare-Ups
Rosacea flare-ups can make your skin hot or sensitive, so harsh products can worsen the redness. Gentle skincare and lightweight concealers may serve you best. If your skin reacts to a formula, switch to something milder.
If you feel a flush coming on, splash your face with cool water before applying makeup. Then pat your skin dry gently. That might calm your face a bit, letting concealer sit better.
Try to avoid layering too many products. A simple routine can keep your skin from feeling overloaded.
Setting with Powder
Powder can lock your concealer in place, especially if you deal with mid-day redness. Pick a finely milled translucent powder or one with a slight tint that matches your skin tone.
Use a fluffy brush or a damp sponge to press the powder onto your concealer. Don’t swirl it around or you risk moving your concealer. Press, press, then dust off any extra.
Too much powder can look dry, so use a moderate hand. If your skin is on the drier side, you can skip powder in certain areas and just set the spots that need extra coverage.
Concealing Dark Spots
Layering Liquids
Dark spots, sometimes from hyperpigmentation or sun exposure, can be stubborn to hide. A liquid concealer that’s close to your foundation color can help unify the area. If you need extra coverage, layer a small amount of a heavier concealer on top.
Focus on patting the product right where the spot is darkest. You can also gently feather out the edges so it fades into your natural skin. If the spot still shows, let that layer dry, then repeat.
Liquid formulas blend easily over large areas if you have multiple dark spots. You can also use a brush to precisely apply the product to just the spots, minimizing coverage on clear skin.
Thin Layers
Some folks think thick layers cover better, but that can draw attention to uneven texture. Thin layers that gradually build coverage often look more natural. If your dark spot is a bit more stubborn, add an extra thin layer only on that spot.
If you find your concealer is too sheer, you might need a formula with better pigmentation. Alternatively, you could apply a color corrector first—like a peachy corrector—to counteract the brown or gray undertone of the spot.
Gentle Patting
Dark spots are sometimes accompanied by changes in skin texture. Patting helps to push the product in without emphasizing those changes. A gentle patting motion with a damp sponge or the pad of your finger can merge the concealer with your skin’s surface.
Make sure you check your work in different lighting. Sometimes a spot looks perfectly concealed in your bathroom mirror but is visible in natural daylight. Step near a window or go outside with a handheld mirror if you can.
Concealer for Special Occasions

Long-Lasting Formulas
Weddings, parties, or big events might mean you need concealer that sticks around all day—or all night. Look for waterproof or long-wear formulas with sweat-resistant claims. However, be mindful that some waterproof concealers can feel drying.
Layering a long-lasting formula over a good primer can keep your face shine-free and your blemishes hidden for hours. Keep blotting papers or a setting spray on hand if you’re dancing or in a warm climate.
Photography Friendly
Concealers that contain sunscreen or certain reflective particles might flash back in photos, creating bright white patches. If you’re heading to a big event with lots of flash photography, test your concealer by taking a photo with your phone.
Choose a formula that’s labeled as “photo-friendly” or “no flashback.” Or simply do a quick test. If your under-eye area appears much lighter, you might want a different shade or a different brand.
Heat/Humidity
Heat and humidity can cause makeup meltdown. If you sweat, your concealer can slip if it’s not set properly. Consider a primer that’s designed for hot climates. Blot your face with tissue before reapplying concealer throughout the day to avoid piling product on top of sweat.
A makeup setting spray can help lock everything in. If you have very oily skin, a light dusting of powder on top of your concealer can do wonders. Then, stash some blotting papers in your purse.
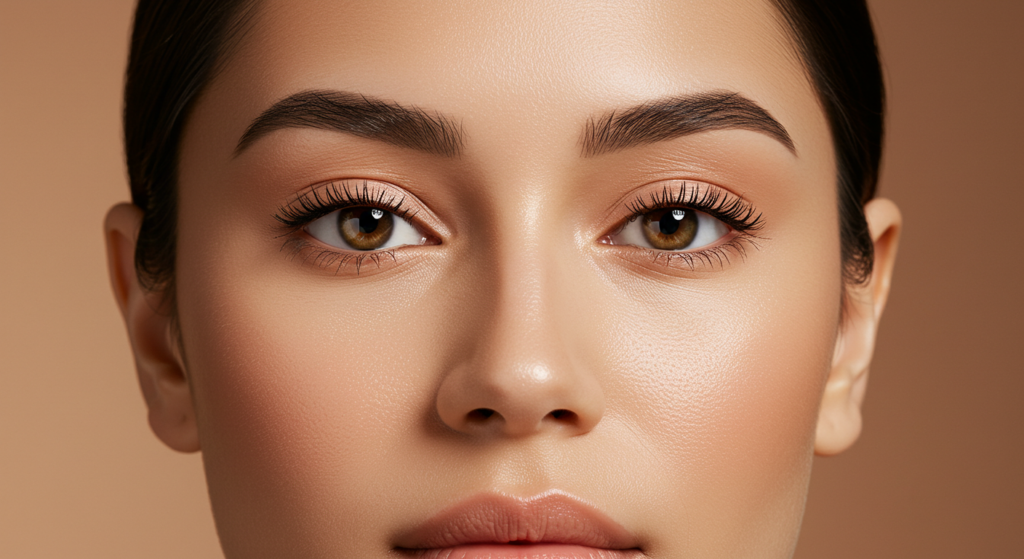
Concealer as Highlighter
Cheekbone Brightening
Did you know you can use a slightly lighter concealer to highlight your cheekbones? Dab a small amount just above your actual cheekbone, then blend upward toward your temple. This trick can lift your face subtly without shimmery highlighters.
Try it on the bridge of your nose too, if you like that look. But be subtle. You don’t want a glaring stripe of lighter color. Just a soft brightening effect.
Brow Cleanup
You can sculpt your brows by running a fine line of concealer underneath their arches. Use a tiny brush or a stiff angled brush to apply. This technique can hide stray hairs or define the brow shape.
Blend the line downward into your eyelid so you don’t see an obvious stripe. If you want an even more polished look, you can also apply a thin line above your brows. Again, blend gently so it all looks seamless.
Lip Definition
If you have a bold lipstick and want crisp edges, conceal around your lips with a small brush. That can define your cupid’s bow or straighten any wobbly lines.
Apply the concealer after putting on your lipstick. Then blend outward so your lips look clean and pop with color. This method also helps fix smudges if your lipstick bleeds or feathers.
Concealer Mistakes to Avoid
Wrong Shade
A shade that’s too light under your eyes can create reverse raccoon eyes. A shade that’s too dark can look muddy and highlight your blemishes instead of hiding them. Always try your concealer in natural light before you commit.
You might need two or three different concealers for different purposes—like a peachy one for dark circles, a green one for redness, and a skin-tone match for spots. Don’t assume one tube can do it all.
Thick Layers
Overdoing it can turn your makeup into a cracked mess. Remember that layering can be beneficial, but each layer should be thin. Give it time to settle, then see if you need more.
If you have a giant pimple, you might be tempted to plaster it. But a huge blob of concealer can look worse than a small bump. Focus on precise coverage.
Skipping Setting
If you skip powder or a setting spray, your concealer may slip by lunchtime. A sheer dusting of powder, or a quick mist of setting spray, can lock in your coverage.
Check if your under-eye area is too dry for powder. If so, use a very fine translucent powder or skip that zone. Setting is crucial for longevity, but it needs to match your skin’s needs.
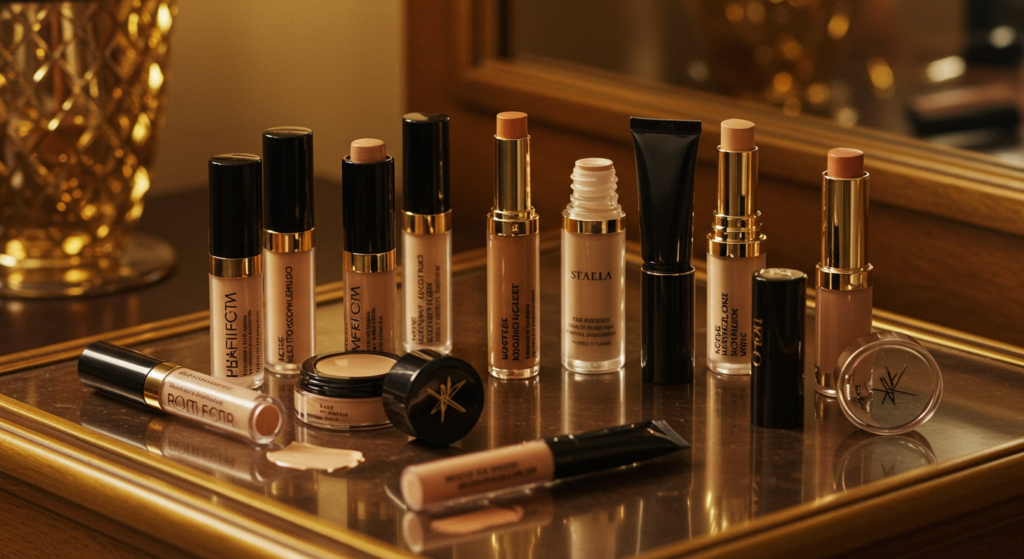
Product Recommendations
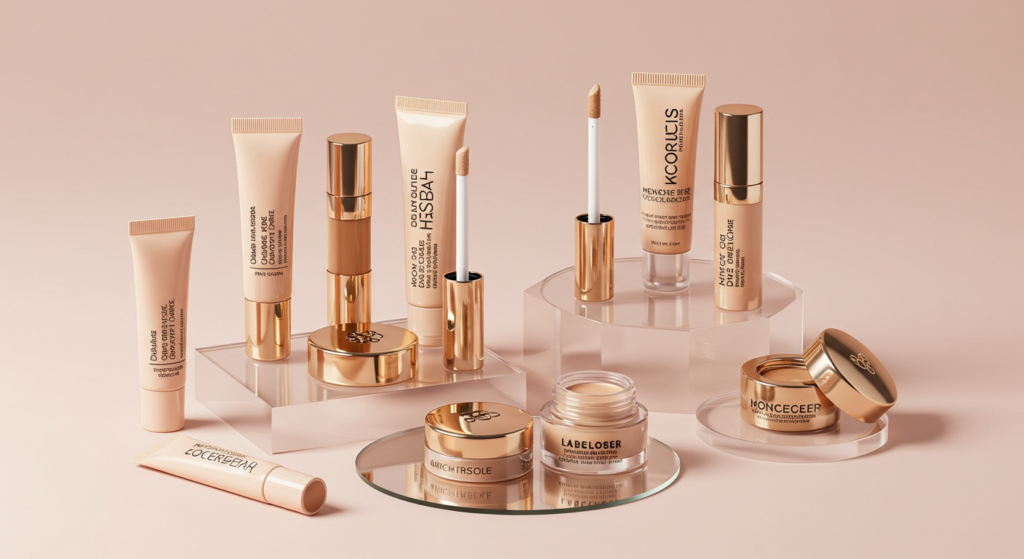
Budget-Friendly
- Maybelline Fit Me: This classic brand offers a popular liquid concealer that’s easy to blend. It’s well-liked for everyday coverage and a natural finish.
- e.l.f. 16HR Camo Concealer: Great coverage at a low cost. The formula is thick, so apply sparingly.
- Wet n Wild Photo Focus Concealer: Known for a smooth finish, it’s often praised as a solid drugstore pick.
Mid-Range
- L.A. Girl Pro Conceal: This line has a wide range of shades and color-correcting options. Affordable yet pro-quality.
- NYX HD Photogenic Concealer: Medium to full coverage with a lightweight feel. Good shade selection for different undertones.
- Milani Conceal + Perfect: Offers decent coverage and a creamy texture. Users appreciate its staying power.
High-End
- NARS Radiant Creamy Concealer: Loved for its creamy, buildable formula and radiant finish. Many beauty gurus swear by it.
- Tarte Shape Tape: Known for intense coverage and a matte finish. People with dryer skin might add an eye cream first.
- Bobbi Brown Creamy Concealer Kit: A classic pot concealer with a powder included. Great for spot concealing or under-eye coverage.
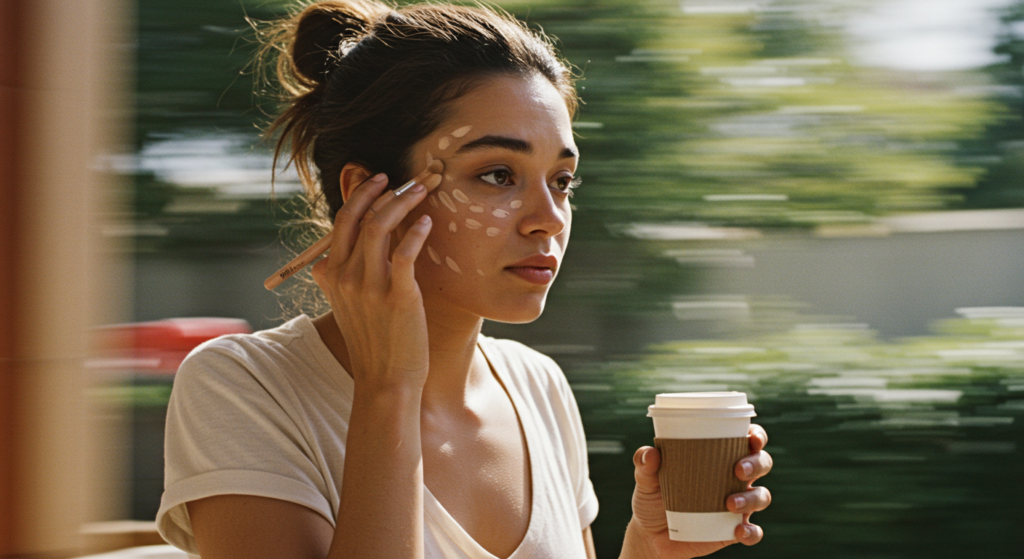
Quick Hacks for Busy Mornings
Multi-Use Products
A concealer that doubles as a foundation saves time. Some brands market “foundation + concealer” in one tube, which can let you spot-conceal and then blend it out across the rest of your face.
You can also use a color-correcting concealer as an eyeshadow base in a rush. That might neutralize any discoloration on your eyelids, prepping them for quick shadow or even just a bit of mascara.
Simplified Routine
If you only have five minutes, skip complex color-correctors. Go straight for a reliable concealer that matches your skin. Tap it under your eyes, around your nose, and over any blemishes. Then do a quick set with powder, add mascara, and you’re out the door.
You don’t need a million products to look put-together. Sometimes less is more when you’re in a hurry.
On-the-Go Touch-Ups
Carry a small concealer stick or a compact with a mirror. If you notice a blemish peeking through midday, dab a tiny bit on top, blend, and lightly powder.
If you don’t have a brush or sponge handy, remember that your fingertip can be your best friend. Just tap to blend the edges. This keeps you from looking blotchy by 3 p.m.
Conclusion

Concealer can be your best buddy when it comes to hiding blemishes or brightening your under-eyes. The key is knowing your skin type and picking the right formula for the job.
Prepping your face with proper cleansing, toning, and moisturizing sets the stage for a flawless application. Test shades in good light, mix if you need to, and focus on layering with a light hand. A finishing dust of powder or a spritz of setting spray helps lock your hard work in place.
Feel free to experiment. Try new formulas, or explore color-correctors if your under-eye circles or redness need extra attention. Remember, you don’t always need pricey concealers. Plenty of budget-friendly options do the trick. And in a pinch, your fingertip can handle quick blending on small areas.
Don’t let a blemish or dark circle ruin your day. With these techniques, you can banish them whenever you want, so you feel confident and comfortable.
Summary Table
| Technique/Step | Why It Helps | How To Apply |
|---|---|---|
| Prep (Cleanse & Moisturize) | Clears debris, hydrates skin for smoother concealer | Gently wash your face, pat dry, use a light moisturizer |
| Right Concealer Formula | Matches your skin’s needs, coverage preferences | Choose liquid for versatility, cream for heavier coverage, stick for convenience |
| Shade Selection | Ensures natural look, avoids mismatched patches | Test in natural light, consider undertones, keep 2 shades for seasonal changes |
| Tools | Affects coverage and finish | Brushes for precision, sponges for seamless blending, fingertips for warmth |
| Spot Concealing | Targets blemishes with minimal excess product | Tap concealer onto spots, dot for multiple blemishes, blend edges |
| Under-Eye | Handles dark circles without creasing | Color-correct first, choose hydrating formulas, bake lightly if needed |
| Acne & Scars | Covers raised or indented spots without caking | Build thin layers, use green corrector for redness, pat gently |
| Redness/Rosacea | Tones down inflammation | Use calming primer, gentle concealer, set with powder |
| Dark Spots | Conceals hyperpigmentation | Layer liquid, thin coats, correct with peach if needed |
| Special Occasions | Keeps makeup long-lasting, photo-ready | Waterproof formulas, photo-friendly, set with powder or setting spray |
| Highlighting | Subtle lifts on cheekbones, brows, lips | Pick a lighter shade, blend carefully, define lip edges |
| Avoid Mistakes | Prevents unnatural look | Pick correct shade, avoid thick layers, don’t skip setting |
| Recommendations | Offers product variety for every budget | Drugstore (Maybelline, e.l.f.), mid-range (L.A. Girl, NYX), high-end (NARS, Tarte) |
| Quick Hacks | Saves time on busy days | Multi-use products, quick spot coverage, on-the-go sticks |
FAQ
Q: Can I use concealer instead of foundation every day?
A: Yes, you can. If you only want to cover problem areas and keep the rest of your skin bare, grab a concealer that matches your tone well. Dab it where needed, blend thoroughly, and set lightly. This routine can look fresh and natural.
Q: Should my concealer match my foundation or be lighter/darker?
A: For covering blemishes, it’s best to match your skin or foundation shade. If you want a brightening effect under your eyes, pick a concealer that’s around one shade lighter. But be careful—going too light creates a chalky ring.
Q: Why does my concealer crease under my eyes?
A: It might be too thick, or your under-eye area could be dry. Try using an eye cream first, then a hydrating concealer. Finish with a small amount of setting powder to keep it in place. Don’t overload the product.
Q: Do I need a different concealer for acne vs. under-eyes?
A: Often, yes. Acne or redness might need more coverage or a green-based corrector, while under-eyes may require a lightweight, hydrating formula with peach tones. You can mix and match products for different areas.
Q: My pimples look worse when I apply concealer. What should I do?
A: Your skin might be too flaky, or you’re using a formula that’s too dry. Gently exfoliate, moisturize, and try a thinner concealer that builds coverage. A patting motion helps avoid caking on raised spots.
Q: Can I bake my entire face with concealer?
A: You could, but it might look heavy or dry, especially if your skin isn’t oily. It’s usually better to bake in specific areas like under the eyes or the T-zone. Always do a test run to see if it suits you.
Q: How do I handle concealer touch-ups during the day?
A: Blot away oils or sweat first. Then dab a small amount of concealer on the areas that need refreshing. Tap to blend, and finish with a light dusting of powder. This prevents a cake build-up.
Q: Is color-correcting necessary for everyone?
A: Not always. If you have mild discoloration, a regular concealer might be enough. But if you have vivid dark circles or noticeable redness, a color corrector can help you use less concealer and get a more balanced look.
Q: How long should I wait between layers of concealer?
A: Wait about 30 seconds to a minute. Let the first layer settle or dry slightly. Then add the second layer only if the first layer isn’t enough. This helps avoid smearing or removing coverage you already placed.
Q: Are stick concealers bad for dry skin?
A: Not necessarily. Some can feel waxy, but you can warm them up on the back of your hand. Use a moisturizer or primer first. This trick can help them glide on more smoothly.
Q: I have extremely oily skin. Does that mean my concealer will always slide?
A: Not if you pick a long-wear, oil-free concealer and use a primer. Set it with powder or setting spray, and carry blotting papers. Proper prep can keep your concealer from running away.
Q: Can I just skip primer altogether?
A: Of course. Plenty of people do. Primer can help extend wear, but if you’re comfortable with your skin and your concealer doesn’t budge, you might not need it. Use what works best for you.
Q: Does concealer need to be applied before or after foundation?
A: Most commonly, concealer goes on after foundation. That way, you see where you need extra coverage. But some prefer concealer first if they’re spot correcting. Experiment to see which method you prefer.
I hope all these tips, hacks, and details help you banish blemishes with confidence. Remember: keep experimenting and have fun.
If something doesn’t work for your skin, adjust as you go. Your perfect concealer routine might look different from someone else’s, and that’s totally fine. You do you, with a dab of concealer in the right shade. Stay flawless!

Brenda Tillman is a color maestro who brings artistic brilliance to every piece she crafts. Passionate about imaginative expressions, she illuminates the world of fashion with her expert guidance on shades and combinations. Beyond her writings, Brenda is a culinary enthusiast and a global traveler, infusing her work with diverse insights. Her unique touch transforms simple color choices into art.
Reviewed By: Joanna Perez and Anna West
Edited By: Lenny Terra
Fact Checked By: Matthew Mansour
Photos Taken or Curated By: Matthew Mansour
