Key Takeaways
- Matching your foundation shade can transform how makeup looks on your face.
- Undertones matter more than many people think—warm, cool, or neutral can guide your product choice.
- Testing on your jawline helps find a realistic color match.
- Prepping your skin with a gentle routine improves how foundation sits and wears.
- Different coverage levels (sheer, medium, full) suit different needs, so choose one that fits your style.
- Try blending techniques with brushes, sponges, or fingers for smooth results.
- If you get stuck, mixing two shades might fix the mismatch.
- Keep your foundation fresh by storing it in a cool place and sealing it tight.
I sometimes got stuck searching the correct color for my face. Ever tried that? I used to swipe testers on my wrist and hope for the best. That method fooled me more than once.
The true secret sits in how your undertone and your actual face color mesh with the makeup formula. In this guide, we’ll explore how to find your perfect match without fuss.
Who wants a ghostly mask or a weird orange line where your chin meets your neck? Let’s figure out the differences among formulas, coverage levels, and how to apply them like a total pro.
We’ll also share a few surprising tips about mixing shades, seasonal changes, and blending styles that help you achieve a balanced, luminous look.
Ready to say goodbye to random guesses at the makeup counter? Let’s jump into the ultimate breakdown on matching your foundation to your unique complexion.
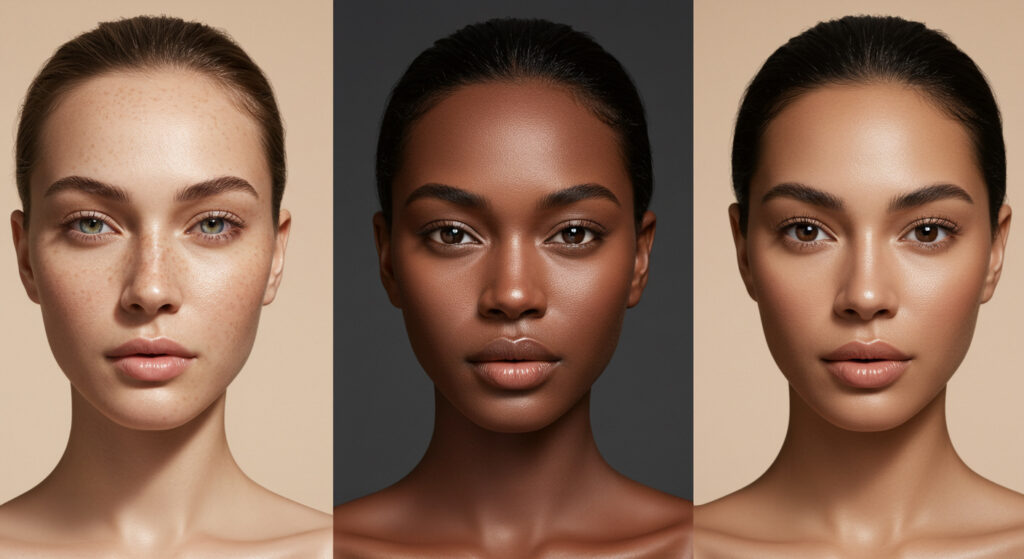
Understanding Undertones
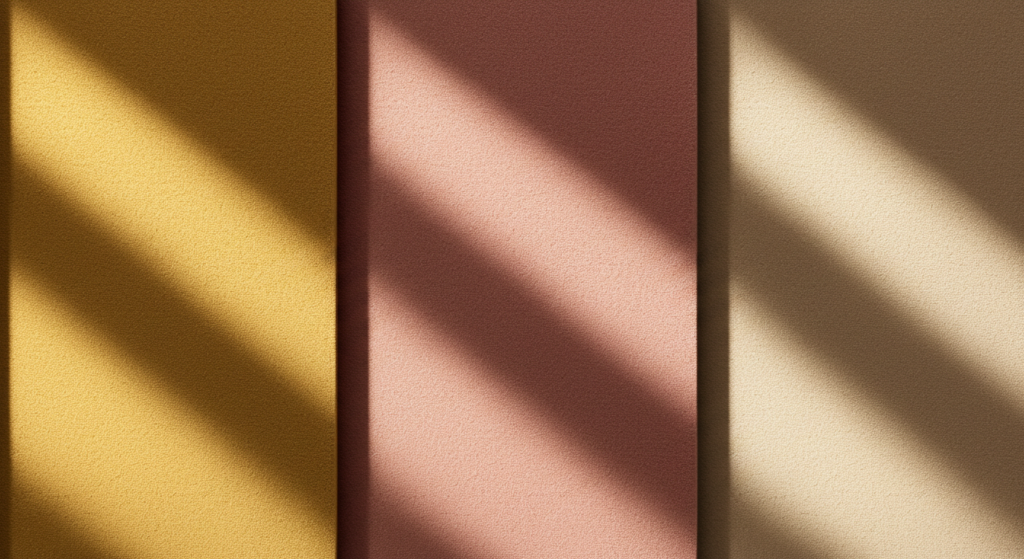
Warm Undertones
Many folks get confused about the word undertone. They guess it’s the same as actual skin color. That’s not always correct. Warm undertones generally have a golden or peachy cast under the skin.
If your veins look greenish, or gold jewelry complements you more than silver, you might be warm. Warm shades often have names like “golden,” “warm beige,” or “honey.”
Why does it matter? Because a warm-toned person wearing a cool pink foundation can appear ashy or dull.
So if you see that your current foundation adds a strange grayish hue, you might need to jump over to a warm variant. Sometimes, just switching from a neutral to a warm base corrects the entire look, especially for certain makeup lines.
Do you keep getting mismatched results? Don’t panic. If your undertone is warm, look for words like golden, caramel, or sun. Then test them around your jawline. If it disappears and doesn’t leave a weird cast, that’s the right tone.
Cool Undertones
Cool undertones lie on the pink, red, or bluish side. Think about how your face might flush or how your wrists appear if you check your veins. If they look bluer, or silver jewelry tends to look more flattering, you’re likely a cool type. This can be tricky for those who keep picking warm shades and end up with a muddy or orangey face.
Who wants to look like a Halloween pumpkin in March? Next time you spot a brand that offers “rosy,” “porcelain,” or “cool beige” foundations, see if that aligns with your complexion. Often, folks with cool undertones find that a foundation that has a slight pink or neutral base blends in best.
One tip: If you test a cool foundation on your neck and it melts in, you’ve probably found a good partner for your daily routine. This approach works if you stand near natural light, so do that near a window, or step outdoors for a moment.
Neutral Undertones
Some people wonder: “What if I’m not entirely warm or cool?” That’s where neutral undertones come in. A neutral undertone has balanced hints of pink and yellow.
If you place gold and silver jewelry against your skin and both look fine, your undertone might be neutral. This often leads to flexible shade options because you can wear foundations labeled neutral or slightly warm.
In many lines, the word “neutral” or “beige” signals that it’s not pushing too far toward pink or gold. If you’ve been frustrated because neither warm nor cool matches you, that might be your sweet spot. Just note that different brands might vary in how they define neutral. Always do a test patch on your jawline or the side of your face.
Skin Prep Basics
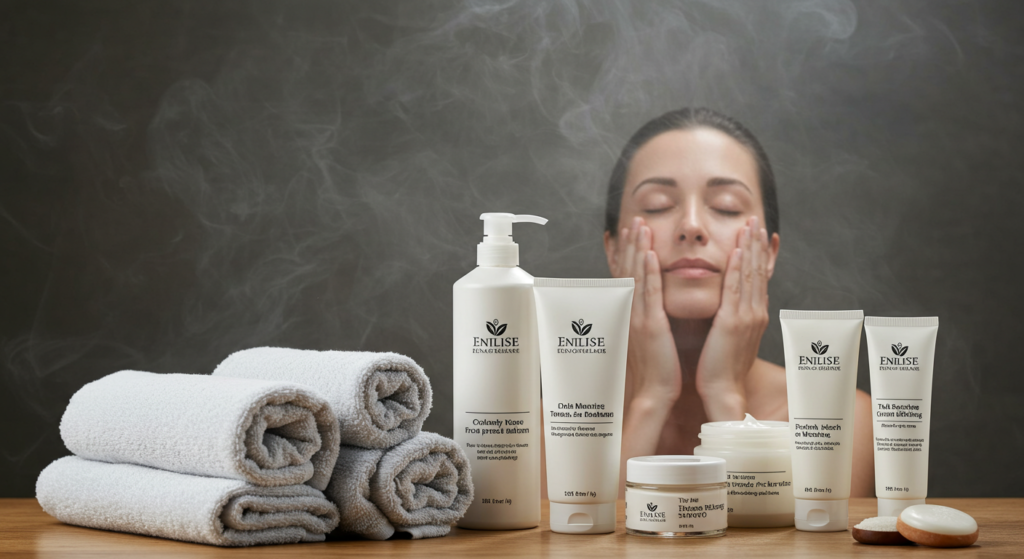
Cleansing and Exfoliating
Before you pop open your foundation bottle, it’s wise to clean your face. Dirt, oil, and dead skin cells can cause foundation to sit poorly, creating patchiness. A gentle cleanser plus a mild exfoliator once or twice a week helps your skin stay smooth. I usually forget to exfoliate and then wonder why my nose looks like it’s peeling.
Should you scrub vigorously with a harsh product? No, try a soft physical scrub or a mild chemical exfoliant if you’re comfortable with it. The goal is to remove the top layer of dead skin cells so your foundation glides on. If your face feels raw, you’ve gone too far. Adjust your approach until it suits your daily routine.
Moisturizing for a Smooth Canvas
Ever seen foundation cling to dry patches around the mouth or cheeks? That usually means your skin lacks moisture. A lightweight moisturizer sets the tone for a smooth makeup application. Focus on areas that feel tight or flaky, but don’t skip the T-zone if it’s oily—just choose a more balanced or oil-free formula there.
Think about this question: do you want your foundation to look smooth or cracked? The answer is obvious, so don’t skip your moisturizer. Give it a minute or two to absorb before applying primer or foundation. Rushing can cause pilling, that weird situation where your product balls up on the surface.
Priming for Longevity
Primer might seem optional, but it can be a lifesaver if you fight with large pores or an uneven texture. A thin layer can blur imperfections and help your foundation adhere. Sometimes, people with oily skin like a mattifying primer, while others prefer a brightening or hydrating one. Test a few types to see how they interact with your favorite base product.
Many primers come labeled “pore-filling” or “hydrating.” If dryness often plagues you, aim for a moisturizing primer. If oil on your T-zone is a big problem, a mattifying primer can keep your foundation from slipping. Wait a bit for it to settle, then proceed with your foundation.
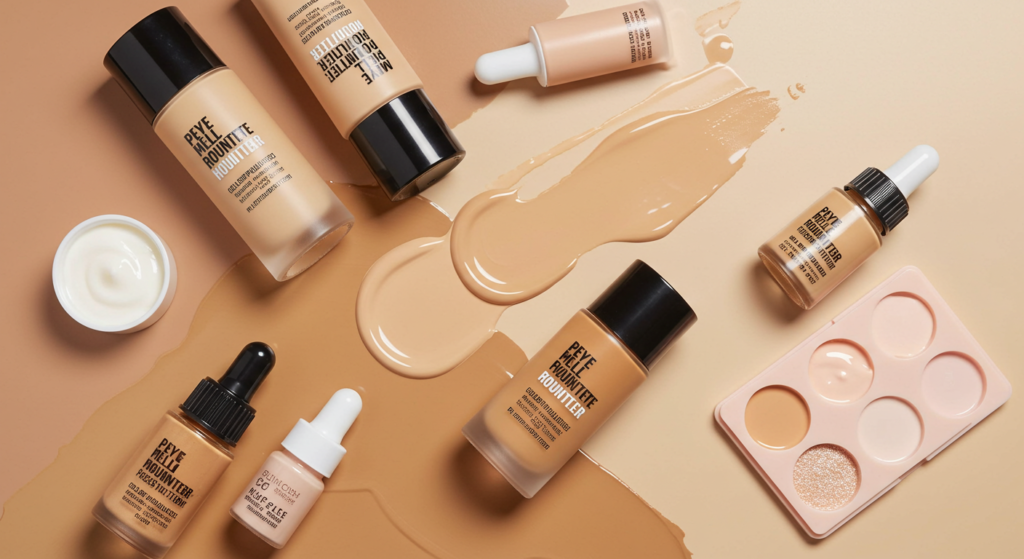
Selecting the Right Formula
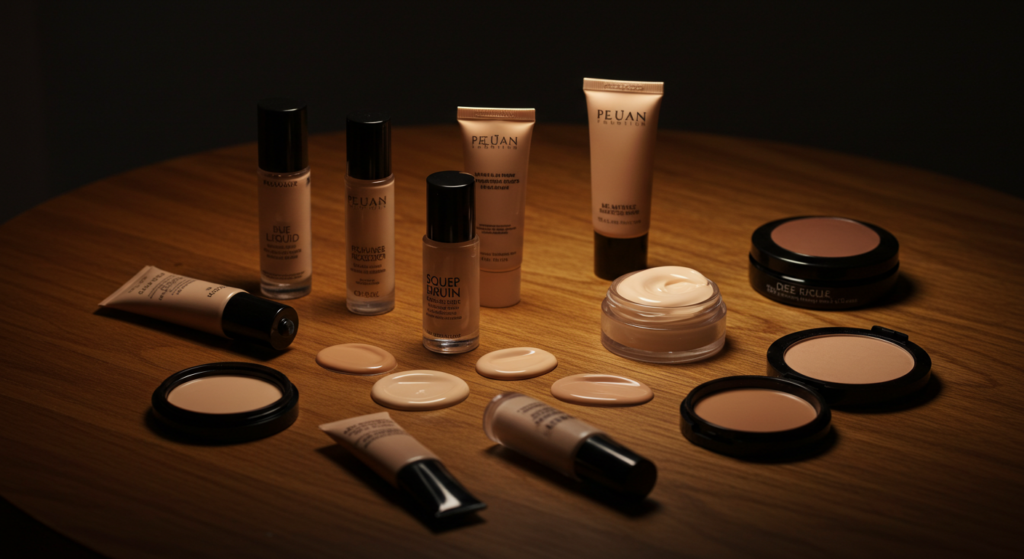
Liquid Foundations
Liquid foundations are popular because they’re versatile. They come in dewy, satin, or matte finishes, so they can suit a wide range of skin types. Some liquids are runny, while others are thicker. If your skin is normal to dry, you might find a hydrating liquid base comforting. If your skin is combination or oily, a semi-matte or matte formula can keep shine away.
One advantage of liquid is how easy it is to mix two shades if you’re between colors. If you find a brand that feels comfortable but you can’t get the perfect match, consider grabbing two bottles (one lighter, one darker) and customizing them. That sounds expensive, but it may give you exactly what you need for a consistent result.
Cream Foundations
Cream foundations come in compacts, sticks, or jars. They usually offer a bit more coverage than liquids. Some folks love them for covering acne scars, hyperpigmentation, or redness. If you have dry skin, a creamy formula can be more forgiving. But on oily skin, it might crease if you don’t set it well.
If you’re looking for a foundation that doubles as a concealer in a pinch, creams are a solid option. They often have a thicker texture, so blending might require extra care. A damp sponge or a buffing brush can help spread it around your face without leaving harsh lines.
Powder Foundations
Powder foundations come pressed or loose, and they’re great for quick application or touch-ups on the go. They can also help reduce shine on oily skin throughout the day. But if you need heavier coverage or have dry patches, powder might cling to those spots. A good tip is to lightly moisturize before using powder foundation so it doesn’t look chalky.
What if you prefer a more natural, everyday look? A light dusting of powder foundation can even out your tone without feeling heavy. It can also be used as a setting product over a tinted moisturizer. If you do so, pick a shade that matches your exact tone to avoid caking or that dreaded “powdery mustache” effect.
Coverage Levels
Sheer Coverage
Sheer coverage suits people who want a subtle polish without hiding their skin’s character. Tinted moisturizers or light BB creams usually fall in this range. They even out small discolorations but let freckles peek through. Some folks with fairly clear skin love this style because it feels weightless.
Would you like a natural, minimal approach? Sheer coverage can be your everyday buddy. You can always add a bit of concealer for spots that need more attention. Or, if you want more coverage for a special event, layering a second pass might help. But don’t expect a mask-like effect—it’s meant to appear gentle.
Medium Coverage
Medium coverage is a favorite for many makeup lovers because it hits that sweet spot between subtle and more perfected. It can conceal mild redness, small blemishes, or uneven tone while still looking relatively natural. Foundations described as “buildable” often land in this category, allowing you to layer in areas that need extra coverage.
Do you find yourself wanting to hide slight discolorations but still want your skin to feel like it can breathe? Medium coverage might be right for you. It’s flexible: you can top it with a bit of powder or leave it on its own, depending on how you want your finish.
Full Coverage
Full coverage foundation can work wonders if you have bigger concerns like acne scars, hyperpigmentation, or you just want a dramatic, flawless look. It usually erases most color differences on your face, giving a clean slate. Some folks find it too heavy for daily wear, while others relish that airbrushed appearance.
If you’re wearing full coverage, blending becomes extra crucial. Any unblended edges can look stark, so use a dense brush or a beauty sponge to press the product into your skin. Also, a setting spray or powder can lock things in place, especially for longer events.
Determining Your Exact Shade
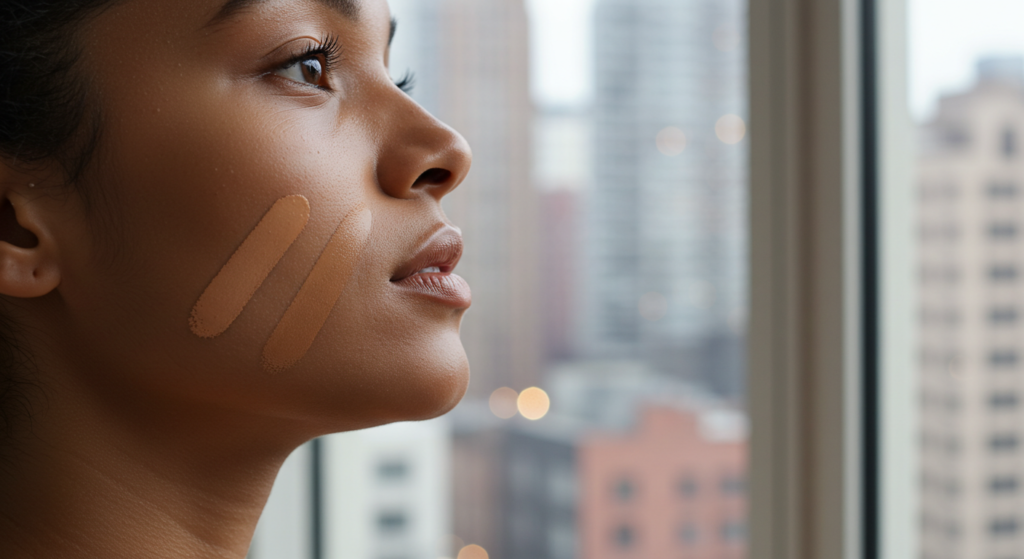
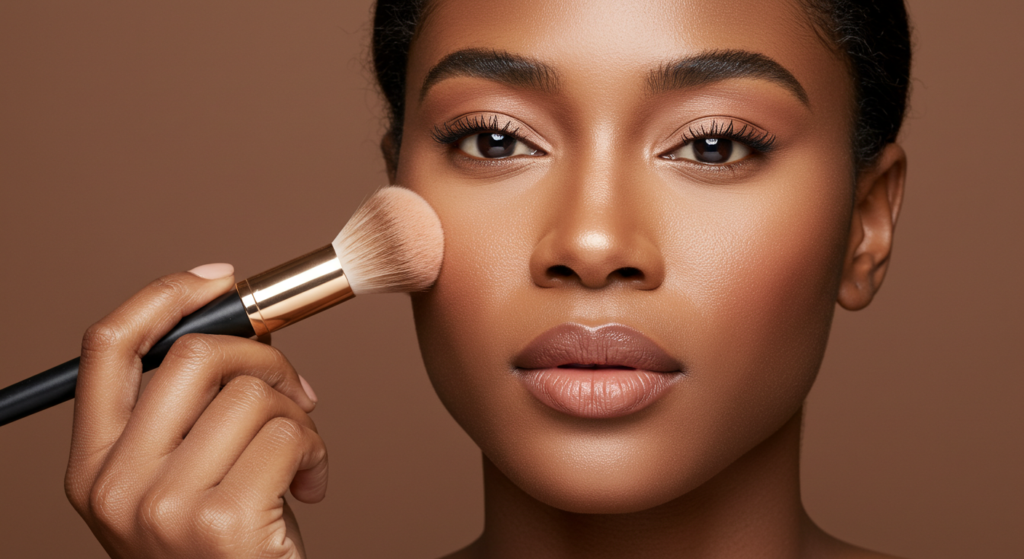
Jawline Test
A major mistake many folks do is testing foundation on the back of the hand or the wrist. The skin tone there can differ from your face. The jawline test is far better. Grab a dab of foundation, swipe it on your jaw, and check how it blends into both your face and your neck. If it “disappears” without leaving a visible streak, you’ve probably found a decent shade.
Question: why is the wrist test so popular if it’s inaccurate? People like convenience, but it can lead to a mismatch. When you do the jawline method, you see how the color merges with the rest of your facial complexion. That helps you avoid that dreaded line of demarcation around the chin.
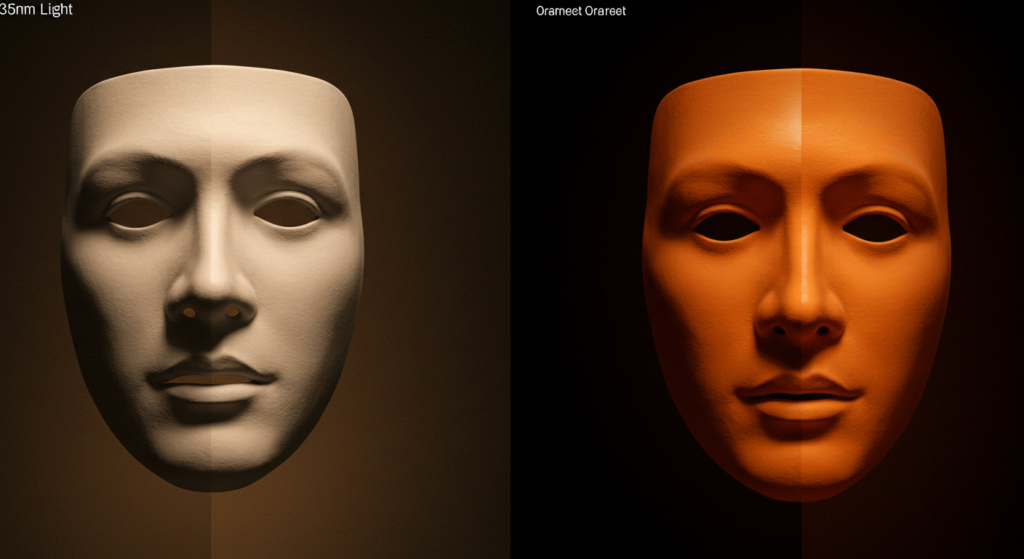
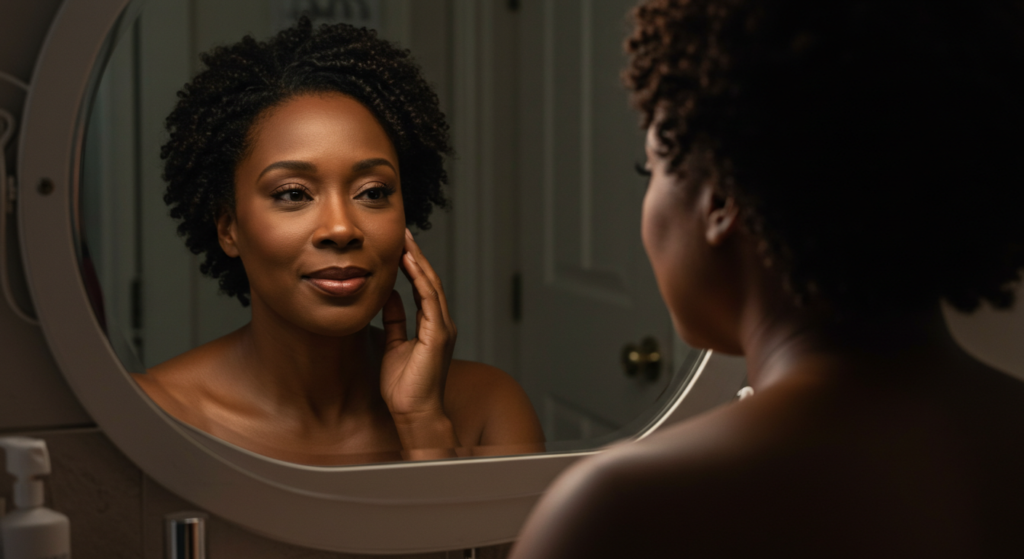
Checking in Natural Light
Store lighting can fool you. Have you ever gone home feeling confident, only to find out that your foundation looks orange near a window? That’s why it’s best to step outside or near a natural light source when trying out new products. It might feel awkward at first, but it saves you from regrets later.
If stepping outside isn’t an option, find an area in the store where the lights are cooler and more neutral. Then hold up a mirror. Do you see any difference between your skin and the area where you applied the product? If it’s obviously darker or lighter, try another shade.
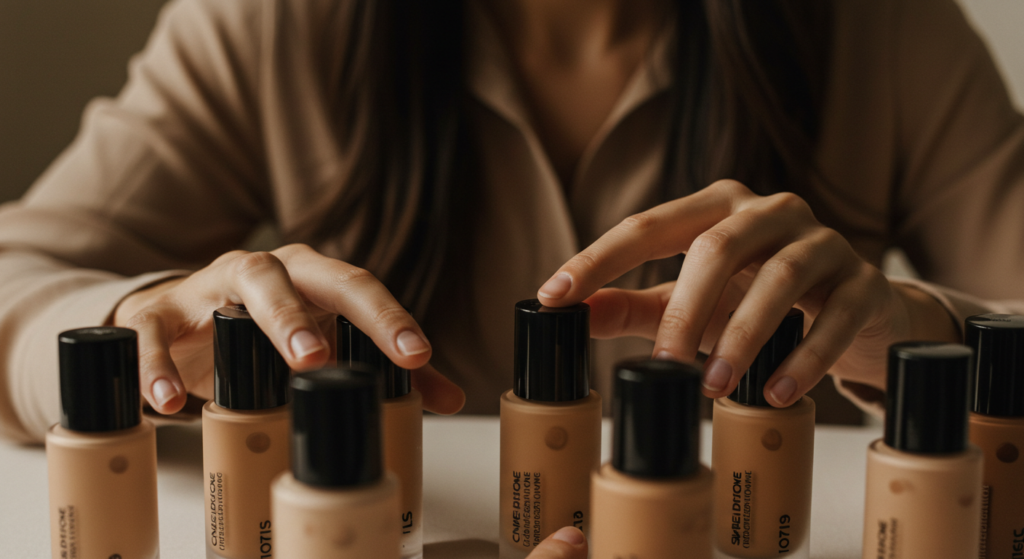
Swatching Multiple Shades
Rather than picking one shade at random, swatch two or three side by side on your jaw. Which one disappears the most? This comparison method helps you see differences in undertones too. A neutral shade might look less yellow or pink compared to the other two. Sometimes we think one shade looks right, but when placed next to a close alternative, the difference stands out.
Remember, you can also ask for samples to take home. Wear them for a day, see how they look in varied lighting, and decide. Matching foundation is a personal process, and it’s okay to be a bit picky.
Application Techniques
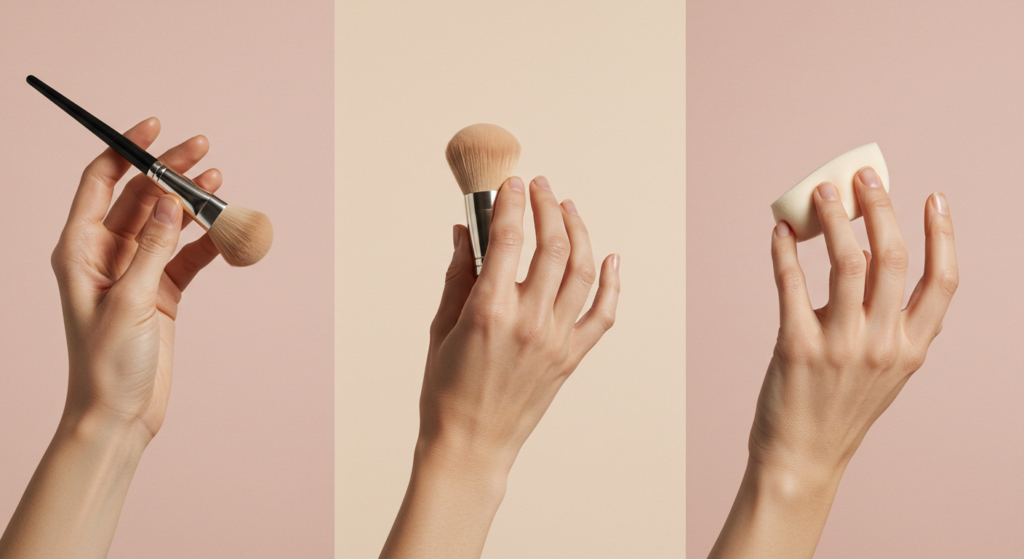
Using Brushes
A good foundation brush can buff product in smoothly. Flat brushes or dense kabuki brushes allow you to spread the foundation with even coverage. Avoid heavy-handed motions that streak the foundation. Instead, use gentle circular or dabbing motions. Don’t you hate seeing brush streaks across your cheeks? That often means you used a brush with long, flexible bristles or you pressed too hard.
After applying, check around your hairline and jaw to ensure there’s no leftover brush line. Also, if you’re using a cream product, a dense synthetic brush usually works better than a fluffy natural bristle one. Synthetic brushes soak up less product and push the formula onto your skin more effectively.
Using Sponges
Makeup sponges, especially damp ones, can deliver a more natural and seamless finish. They spread product evenly and help sheer it out if needed. Squeeze a small amount of foundation on the back of your hand, tap the sponge in, and bounce it across your face.
You might ask: “Why dampen the sponge?” Because it stops the sponge from absorbing too much foundation and helps the application remain smooth. If you like to layer for better coverage, do so gradually. Add a bit more foundation to areas that need extra coverage. This method is gentle and ideal for people who want to avoid a thick or cakey look.
Using Fingers
Fingers can give a natural finish if you warm up the product by lightly rubbing it between your fingertips before applying. This technique works well with liquid or cream formulas. Some folks find it fast and prefer the control they get from using their hands.
One potential downside: your hands can transfer oils or bacteria onto your face. Wash them first, and pat them dry. The advantage is the foundation melts with the warmth of your skin, so it spreads nicely. Blend quickly, though, so the formula doesn’t set in one spot.
Avoiding Common Mistakes
Over-Highlighting
Many of us enjoy a little glow, but going overboard with a super-light concealer or highlight can create a reverse raccoon effect. You might see bright circles under the eyes that don’t blend with the rest of your face. If your foundation matches well, ensure your highlight shade is only one or two steps lighter, not five.
It can be tempting to pile on a light concealer for that “under eye lift,” but it can clash badly if you’re not careful. The aim is to look bright but still cohesive. If you notice an odd ring around your eyes, bounce your foundation brush or sponge on top to mix everything together.
Neglecting the Neck and Ears
Have you ever noticed a person’s face is tanned but the neck is pale? That might happen if you forget to blend around your jawline and onto your neck. In some cases, you might need to bring a bit of foundation or bronzer down to your chest, especially if you’re wearing an open neckline.
For ears, if your hair is pulled back, they might show. If your ear area is a different tone, consider lightly dusting leftover foundation or powder there. The goal is harmony. You don’t want your face, ears, and neck in separate color families.
Applying Too Much Product
Sometimes people use too much foundation, thinking it will cover everything. This can produce a thick, unnatural layer that settles into fine lines. Start with a small amount, then build up only where needed. A smaller quantity is easier to blend, and you can always add more if you see areas that need it.
If you accidentally apply too much, you can sheer it out with a damp sponge or gently wipe off the excess with a tissue. Step back from the mirror every so often and check if your complexion looks balanced.
Seasonal Adjustments
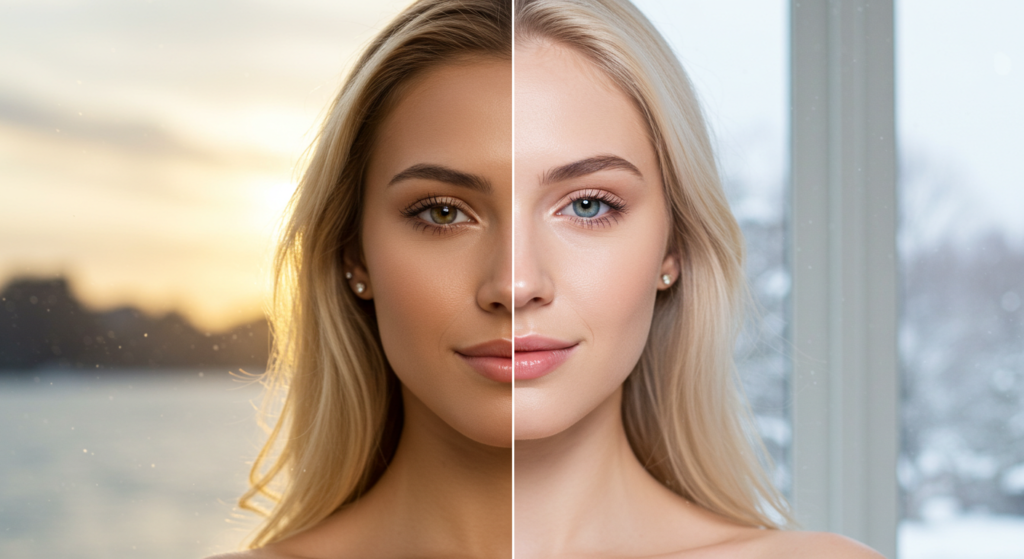
Summer vs. Winter Shades
Your face might be a different color during the summer if you tan easily. In winter, you could lose that tan. Having two foundation shades is a smart tactic. Mix them in the transitional periods to create your perfect in-between shade.
Why bother? Because wearing a winter shade in the summer can make your face look too light, and a summer shade in winter can appear too dark. If you’re more prone to sun exposure, you might even need different formulas with added SPF for warm months.
Tweaking Coverage for Weather
Summer heat can cause makeup to melt. You may want a lighter, oil-free formula or a powder foundation that won’t budge as much. During winter, dryness is common. A moisturizing foundation or a hydrating primer can help avoid cracking or dryness around your nose and cheeks.
If you’re uncertain, switch up your coverage level. A tinted moisturizer in the steamy months might work, then a more nourishing, medium-coverage foundation in the chilly season. Also, consider setting sprays designed for sweaty conditions if your climate is humid.
Handling Temperature and Humidity
Temperature extremes can change your foundation’s consistency. If you store your makeup in a hot car or next to a radiator, the formula can separate or degrade. That might give you odd color payoffs the next time you apply it. So store it in a stable environment—like a drawer in a cool spot.
Humidity can make your foundation feel sticky. Setting powders or matte finishing sprays can help combat that. On the other hand, dry, cold air can leave your face feeling parched, so a hydrating primer plus a creamier foundation can lock in moisture. Pay attention to how your skin reacts each season and adjust your routine as needed.
Mixing and Matching Products
Custom Shade Blending
Some of us hover between two foundation shades. If that’s you, custom blending can work. Start with a pump of the lighter color and add a tiny drop of the darker one. Mix it on a palette or the back of your hand. Experiment until you get a color that matches your jawline.
This technique can be a life-saver if you can’t find an exact match in a single bottle. Also, it’s nice if your skin tone shifts slightly during certain months. You won’t have to toss away your old foundation or buy a new one right away.
Combining Different Finishes
Ever tried mixing a dewy foundation with a matte one? That might create a satin finish if you get the ratio right. If a fully matte formula looks too flat on you, adding a bit of a luminous foundation can perk it up. It’s the ultimate customization approach.
Ask yourself: do I want an in-between glow? Start with a half-and-half mixture, then test. Tweak it until you see the right effect. This approach is practical if you enjoy certain aspects of each product but want to merge them for your best look.
Adding Moisturizer or Illuminator
If you have a foundation that’s slightly too thick, a drop of your daily moisturizer can thin it out. Or if you crave more glow, add a drop of liquid illuminator to your foundation. That can create a subtle radiance without looking like disco-ball sparkle.
A quick caution: watch your product’s undertone. If you add a tinted moisturizer that’s warm to a cool foundation, you might shift the color in an unintended direction. Always do a small patch test before you commit to mixing large amounts.
Setting Your Foundation

Setting Powders
A loose or pressed powder can lock your foundation in place. Dust it lightly with a fluffy brush, focusing on areas that tend to get oily, like the T-zone. If you prefer a more dewy look, skip powder on your cheeks or outer face.
If you have dryness, you can skip powder altogether or only apply a small amount around your nose or forehead. If your skin is super oily, a translucent setting powder might help keep shine under control for hours. Just remember to blend well so you don’t end up with a visible powder layer.
Setting Sprays
Setting sprays come in a range of finishes—matte, radiant, or natural. They help meld all the layers of makeup together and create a unified finish. Spritz it a couple of times in an X or T pattern, then let it air dry. You’ll often notice that your foundation looks more lived-in and less powdery.
Question: do you need a setting spray every day? Not always. But if you want your foundation to last through an event, or if your weather is hot, it’s a nice option. Some people even keep a travel-sized spray in their bag for midday refreshes.
Touch-Up Tips
Carrying a small pressed powder or blotting papers can help tame oil on the go. If you see your T-zone shining in midday, gently pat with blotting paper before adding more powder. That prevents caking.
For dryness or cracking, you could use a face mist to rehydrate your makeup. A gentle pat with a sponge can smooth out any product settling in lines. The main idea is to address issues as they appear so you’re not just adding multiple layers of product on top of existing ones.
Troubleshooting Color Issues
Oxidation
Sometimes foundation darkens or turns orange after an hour. That’s oxidation—a chemical reaction involving your skin’s natural oils and the formula. If your foundation keeps oxidizing, try a primer that controls oil or switch to a brand known for minimal oxidation.
You could also pick a shade half a notch lighter to accommodate potential darkening. But test it first in real conditions. Different brand formulas react differently on each person’s skin, so what oxidizes on someone else might be fine on you.
Flashback
Flashback occurs when camera flash bounces off certain ingredients like titanium dioxide or zinc oxide. This leaves a white cast in photos, especially at night. If you notice you look ghostly in pictures, check your foundation’s SPF content or look for ones labeled “photo-friendly.”
One fix is to use a foundation with lower SPF for nighttime events or set it well with a powder that doesn’t cause flashback. Checking how your foundation appears under direct flash is a good idea if you’ll be in pictures frequently.
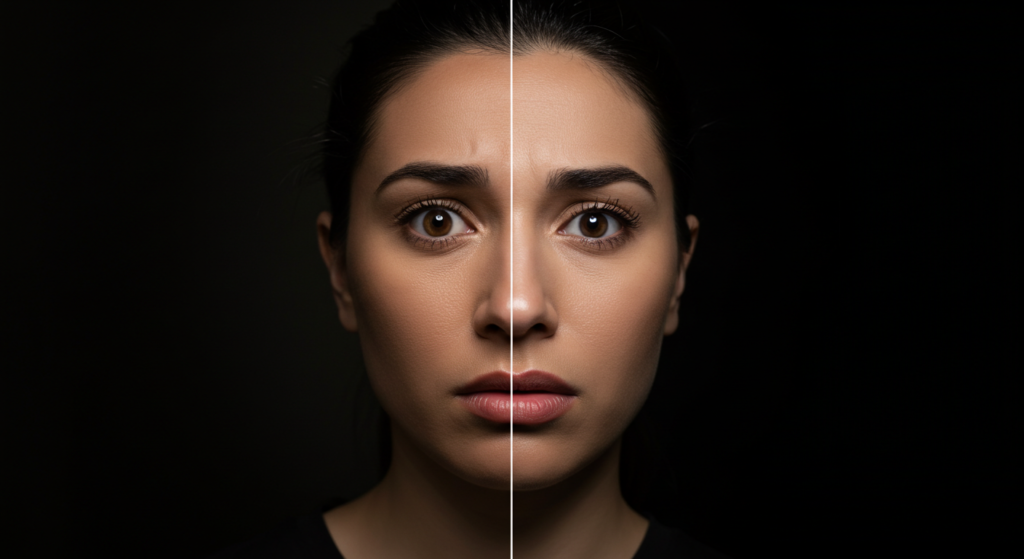
Undertone Mismatch
You might find a foundation that matches your depth of color but turns pink or yellow after blending. That’s an undertone mismatch. Look for lines that categorize by undertone: W (warm), C (cool), and N (neutral). If you keep ending up too pink, maybe you need a warm or neutral shade.
It helps to try different brands, because each has its own standard for what “cool” or “neutral” means. If you find something that’s a perfect undertone match, you can always lighten or darken it as needed. That’s easier than correcting undertone mismatches.
Recommended Brands and Ranges

Drugstore Gems
Drugstore lines have improved so much. Products like Maybelline Fit Me or L’Oreal True Match offer an excellent shade range, especially for those on a budget. If you’re new to makeup or can’t splurge yet, these brands can provide a solid start. The coverage is buildable, and they address varied undertones.
Why not swatch at the store? They usually have testers for at least a few shades. But if you can’t find a tester, you can hold the bottle near your face in good lighting. Or check shade descriptions online—some sites describe warm vs. cool.
Mid-Range Options
If you can go mid-tier, brands like MAC, NARS, and Smashbox have broad shade selections. MAC’s Studio Fix line or NARS Sheer Glow can cater to different undertones. They offer multiple finishes, from matte to dewy.
Some folks say, “I love that brand’s coverage but it’s pricey!” That’s fair. Consider how often you wear foundation. If it’s daily, investing in a formula that matches well and treats your skin kindly might be worthwhile. If it’s for occasional wear, a quality drugstore option could still do the job.
High-End Splurges
Luxury brands like Dior, Armani Beauty, and YSL have advanced formulas, but they can cost more. They often feature refined textures that feel weightless on your face. If you crave that “skin but better” effect and can afford it, you might explore these lines.
Remember, expensive doesn’t always mean perfect. Some folks find the formula doesn’t suit them, even if it’s fancy. Always sample first if possible. You might discover a mid-range or drugstore brand that works just as well for you.
Enhancing Your Features
Concealing Strategically
Even if you wear a perfect foundation shade, you might want to brighten your under eyes or hide a pimple. Use a concealer one shade lighter under the eyes, but blend it well into your foundation. For blemishes, match your concealer to your foundation for a seamless look.
Pat the concealer gently with your ring finger or a small brush instead of rubbing. That ensures the coverage stays where you place it. If you find the concealer stands out, try layering a small amount of foundation on top or mixing them.
Bronzer and Blush Balance
After matching your foundation, you’ll want your bronzer and blush to complement it. If your undertone is warm, a warm-toned bronzer or peachy blush can look cohesive. For cool undertones, rosy or mauve blushes can look more harmonious.
But sometimes, rules are meant to be tested. If you love a certain color, try it. Just watch how it pairs with your foundation. If it appears off, you might need to tweak the intensity or switch the shade slightly.
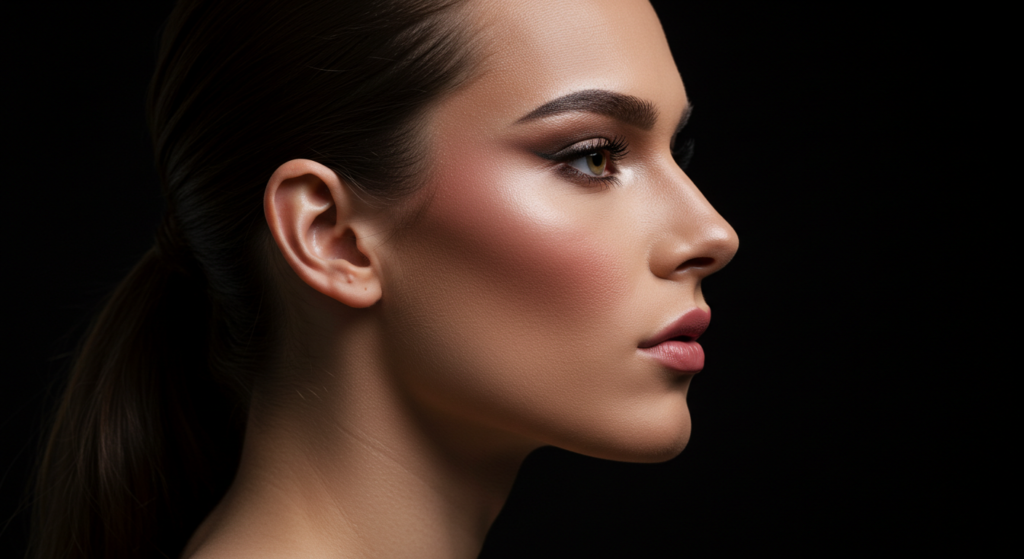
Highlighting and Contouring
Contouring can define your cheekbones or jawline, but pick a contour shade that’s about two shades deeper than your foundation and cooler in undertone. Bronzer that’s too warm can look orangey when used for contour. Meanwhile, highlighter placed on top of cheekbones or under the brow can add a luminous glow.
Blending remains vital. Harsh lines can ruin all your effort. A small contour brush or even a beauty sponge can diffuse the contour color. For highlighter, a fan brush or fingertip tap can place it precisely without overdoing it.
Finishing Touches
Lip and Eye Coordination
Once you have a seamless foundation, think about how your lipstick or eye shadow colors tie in. If your foundation is warm, neutral browns, peaches, and golds can harmonize. Cool bases might look sharper with pinks, purples, or grays.
You’re free to experiment. The main point is that your complexion sets the stage. If you’re wearing a bold lip, keep your foundation matte or semi-matte to avoid too much shine. If your eyes are dramatic, you could pair it with a more subtle lip color. Balance is key, but personal preference wins.
Quick Checks for the Day
Sometimes, after a few hours, foundation can break down. Keep a small mirror or pop into the restroom. Check around your nose, mouth, and chin. Blot or re-blend if needed. Quick checks prevent you from discovering a meltdown after it’s too late.
Carry a mini concealer or sample pot of your foundation if you’ll be out a long time. That way, you can dab on a little fresh product if your coverage fades. If you feel your cheeks looking dull, a tiny pinch of cream blush can bring them back to life.
Removing Foundation Properly
Taking off your foundation at night is crucial for skin health. Use a gentle makeup remover or an oil cleanser to break down the product, then follow with a normal cleanser. You want clean pores. This helps prevent breakouts and build-up that could sabotage tomorrow’s flawless application.
Don’t skip a proper wash. If you leave traces of makeup behind, it can lead to clogged pores or dullness. Some folks do a double cleanse: first an oil-based product, then a water-based one. That might help ensure everything is fully gone.
Handling Special Events
Bridal or Party Makeup
Weddings, graduations, or big celebrations can demand long-wearing foundation. You might want a full coverage formula, plus a primer and setting spray that locks things in. Test your routine before the big event to avoid surprises.
Consider how photography changes the look of your foundation. If flash will be used, steer clear of formulas with a high SPF, to avoid flashback. Also, a bit more coverage than usual can be helpful in pictures, but don’t overpack product. Balance coverage with comfortable wear.
Outdoor Events
For outdoor gatherings, your foundation may face sweat and sun. A water-resistant formula can stand up better. A lightweight, long-wearing product might be a safer bet than a thick, full coverage one that can melt in high temperatures.
Also, consider wearing SPF under your foundation if you’ll be outside for a while. Some foundations include SPF, but you might need extra if the sun is intense. Reapply or top up with a powder that contains SPF if you’ll be out all day.
Touch-Up Kits
When you’re heading to an event that lasts hours, bring a small kit: blotting sheets, pressed powder, concealer, and maybe a mini setting spray. If you break a sweat, blot first. Then lightly powder or spritz. That ensures you don’t layer new product over wet or oily patches.
If you see any cracking in your smile lines, gently press a fingertip or sponge to smooth it. A dab of primer on top can sometimes refresh that spot. Quick rescue moves can help you look polished the entire time.
Conclusion
Finding your perfect foundation shade can seem tricky, but it’s a big step for a polished makeup look. By zeroing in on your undertone, testing a formula that suits your skin type, and learning how to blend effectively, you can say goodbye to guesswork.
And with the right prep, coverage, and finishing touches, your complexion can appear even and radiant without feeling weighed down.
Don’t be afraid to try new techniques or brands—sometimes a small tweak or a product switch can solve that weird mismatch issue.
Once you discover a reliable match, you’ll feel more confident every time you step out. Why settle for a color that looks “just okay” when you can rock a shade that feels like a second skin?
Summary Table
| Topic | Key Point | Action Tip |
|---|---|---|
| Undertones | Warm (gold/peach), Cool (pink/blue), Neutral (both) | Test veins, jewelry, or face flush. Pick matching shade names. |
| Skin Prep Basics | Cleanse, Exfoliate, Moisturize, Prime | Gentle scrub, hydrator, then primer to smooth or control oil. |
| Foundation Formulas | Liquid, Cream, Powder | Choose based on coverage preference and skin type. |
| Coverage Levels | Sheer, Medium, Full | Match coverage to occasion and desired finish. |
| Shade Matching | Jawline test, natural light, multiple swatches | Aim for color that “disappears” on face and neck. |
| Application Techniques | Brushes, Sponges, Fingers | Use gentle motions; watch for streaks or uneven coverage. |
| Seasonal Adjustments | Swap shades in summer/winter | Possibly keep two shades; lighten or darken as needed. |
| Mixing & Matching Products | Blend two shades, combine finishes | Customize coverage, glow, or undertone. |
| Setting Your Foundation | Powders & Sprays | Lock in place, reduce shine, or add dew. |
| Troubleshooting Color Issues | Oxidation, Flashback, Undertone mismatch | Use samples, check brand undertone systems, watch for SPF. |
| Recommended Brands | Drugstore, Mid-Range, High-End | Fit Me, True Match, MAC, NARS, Dior, etc. |
| Enhancing Features | Concealing, Bronzer/Blush, Highlight/Contour | Keep undertones consistent; blend carefully. |
| Finishing Touches | Coordinating lips & eyes, removing makeup | Balance color, fully cleanse at night. |
| Special Events | Bridal, Outdoor, Touch-Up Kits | Long-wearing, water-resistant, keep blotting papers & powder. |
FAQ
1. How do I tell if I have warm, cool, or neutral undertones?
Check your wrist veins. If they look green, you’re probably warm. If they appear blue, you might be cool. If you can’t tell, you could be neutral. Also, notice if gold or silver jewelry suits you better. Warm undertones often like gold, while cool undertones might favor silver.
2. Can I use the same foundation all year?
Your skin tone may shift in different seasons, especially in summer. If you tan, you might need a darker shade. In winter, go one shade lighter. Some people keep two foundations to mix when they’re in between shades.
3. Is it okay to test foundation on my wrist or hand?
That might be convenient but can lead to color mismatch. The skin on your hand or wrist may not match your face. The jawline test is more accurate because it matches your face and neck.
4. My foundation always looks orange after a while. Why?
That’s oxidation. Your skin’s oils might react with the foundation, causing it to darken. Try using an oil-controlling primer or choose a foundation with less tendency to oxidize. Some folks even pick a slightly lighter shade to offset oxidation.
5. Do I need a primer if I use moisturizer?
Primer and moisturizer serve different purposes. Moisturizer hydrates the skin, while primer smooths pores or controls oil and helps foundation last. If your skin is very dry, you might benefit from both. If you prefer fewer steps, see which product helps you the most.
6. Why does my foundation look cakey after a few hours?
Possibly too much product, dryness, or not blending enough. Try using less foundation, hydrating well before application, and setting it with a light dusting of powder or a setting spray. Also, blotting or refreshing midday can stop buildup.
7. Should I match my foundation to my face or my neck?
You generally want a shade that ties in well with your neck, so your face and neck look uniform. A quick jawline test helps ensure the color transition is smooth.
8. How can I prevent that ghostly flashback in photos?
Avoid high SPF foundations or powders with reflective ingredients, especially during flash photography. Look for products labeled “photo-friendly” or do a quick camera test at home to see if you get a white cast.
9. What’s the best tool: brush, sponge, or fingers?
They each have perks. Brushes can buff on coverage quickly, sponges give a seamless blend, and fingers can warm and melt the product into skin. It’s about preference and formula. Feel free to experiment.
10. Is it okay to combine different foundation formulas?
Yes, you can blend a dewy formula with a matte one for a custom finish. You can also mix two shades if you’re between colors. Always test a small amount to see if it blends well.
11. Can I wear full coverage every day?
You can, but full coverage might feel heavier. If your skin tolerates it, sure. But some prefer medium or sheer coverage for daily life. Switch it up based on how comfortable you feel.
12. My skin dries out in winter. Should I change my foundation?
If your skin feels flaky or tight, a more moisturizing or hydrating foundation can help. Also, apply a richer moisturizer and consider using a gentle exfoliant. Adjust your routine as your skin needs change.
13. Is it wrong to use bronzer on my neck to match a darker face foundation?
You can lightly bronze your neck to keep your face and neck consistent, but an exact match foundation is usually simpler. If you do use bronzer, blend carefully so it looks natural.
14. How do I remove foundation without irritating my skin?
Double cleansing works well. First, use an oil-based or micellar remover to break down the makeup. Then follow with a gentle water-based cleanser. Pat dry and moisturize. This avoids leaving residue.
Feel free to revisit these tips anytime you’re second-guessing your foundation choice. A little experimentation can lead you to that sweet, perfect match. Good luck on your shade-finding journey, and remember: makeup should be fun, not a chore!

Gabrielle J. Smith is the pulsating essence that brings life to the world of fashion and color. With an innate talent for understanding the nuances of hues, she has the uncanny ability to paint narratives with her words, diving deep into the realm of color trends and the art of harmonizing them. Not just an expert in the field, Gabrielle also plays a pivotal role in strengthening the cohesion of our team, ensuring growth and harmony. Each of her articles is a testament to her passion, weaving captivating tales that resonate with readers and fashion aficionados alike.
Reviewed By: Joanna Perez and Anna West
Edited By: Lenny Terra
Fact Checked By: Matthew Mansour
Photos Taken or Curated By: Matthew Mansour